React Native Counter 만들기(Button Event) DEV / REACT NATIVE
2020-05-14 posted by sang12
ReactNative에서 버튼을 누르면 숫자가 올라가게 프로젝트를 만들어 보겠습니다. 처음에 react-native init로 프로젝트를 생성하면 뭔가 굉장히 어려워 보이는 소스들이 보입니다. 아래 소스와 같이요..! 기본 구조가 어떻게되는지? 저 화살표들은 정녕 무엇인지 javascript 초보자인 저에겐 너무나 어렵네요 :(. 그래서 다른 소스들을 참고해서 보니 쉽게 나온 소스가있어 해당 소스로
-app.js
const App: () => React$Node = () => {
  return (
    <>
      <StatusBar barStyle="dark-content" />
      <SafeAreaView>
        <ScrollView
          contentInsetAdjustmentBehavior="automatic"
          style={styles.scrollView}>
          <Header />
          {global.HermesInternal == null ? null : (
            <View style={styles.engine}>
              <Text style={styles.footer}>Engine: Hermes</Text>
            </View>
          )}
          <View style={styles.body}>
            <View style={styles.sectionContainer}>
              <Text style={styles.sectionTitle}>hihi One</Text>
              <Text style={styles.sectionDescription}>
                Edit <Text style={styles.highlight}>App.js</Text> to change this
                screen and then come back to see your edits.
              </Text>
            </View>
            <View style={styles.sectionContainer}>
              <Text style={styles.sectionTitle}>See Your Changes</Text>
              <Text style={styles.sectionDescription}>
                <ReloadInstructions />
              </Text>
            </View>
            <View style={styles.sectionContainer}>
              <Text style={styles.sectionTitle}>Debug</Text>
              <Text style={styles.sectionDescription}>
                <DebugInstructions />
              </Text>
            </View>
            <View style={styles.sectionContainer}>
              <Text style={styles.sectionTitle}>Learn More</Text>
              <Text style={styles.sectionDescription}>
                Read the docs to discover what to do next:
              </Text>
            </View>
            <LearnMoreLinks />
          </View>
        </ScrollView>
      </SafeAreaView>
    </>
  );
};

const styles = StyleSheet.create({
  scrollView: {
    backgroundColor: Colors.lighter,
  },
  engine: {
    position: 'absolute',
    right: 0,
  },
  body: {
    backgroundColor: Colors.white,
  },
  sectionContainer: {
    marginTop: 32,
    paddingHorizontal: 24,
  },
  sectionTitle: {
    fontSize: 24,
    fontWeight: '600',
    color: Colors.black,
  },
  sectionDescription: {
    marginTop: 8,
    fontSize: 18,
    fontWeight: '400',
    color: Colors.dark,
  },
  highlight: {
    fontWeight: '700',
  },
  footer: {
    color: Colors.dark,
    fontSize: 12,
    fontWeight: '600',
    padding: 4,
    paddingRight: 12,
    textAlign: 'right',
  },
});
-app.js(변경)
import React, { Component } from 'react'
import {
  Button,
  Text,
  View,
} from 'react-native'

class App extends Component {
  state = {
    count: 0
  }

  onPress = () => {
    this.setState({
      count: this.state.count + 1
    })
  }

 render() {
    return (
      <View>
        <Button
          title="click"
          onPress={this.onPress}
        />
        <View>
          <Text>
            You clicked { this.state.count } times
          </Text>
        </View>
      </View>
    )
  }
}

export default App;
위 소스로 app.js에 대처해봅시다. 스타일을 모두 제거 했고 저희가 목표로한 버튼과 Text 그리고 카운터를 위한 변수만 존재하는 것을 볼 수 있습니다. 이제 보기가 조금 더 쉬워졌죠? 뭔가 웹에서 태그 형태를 보는 것 같네요. Button의 onPress 이벤트를 통해 counter의 값이 어떻게 변하는지 확인해봅시다.
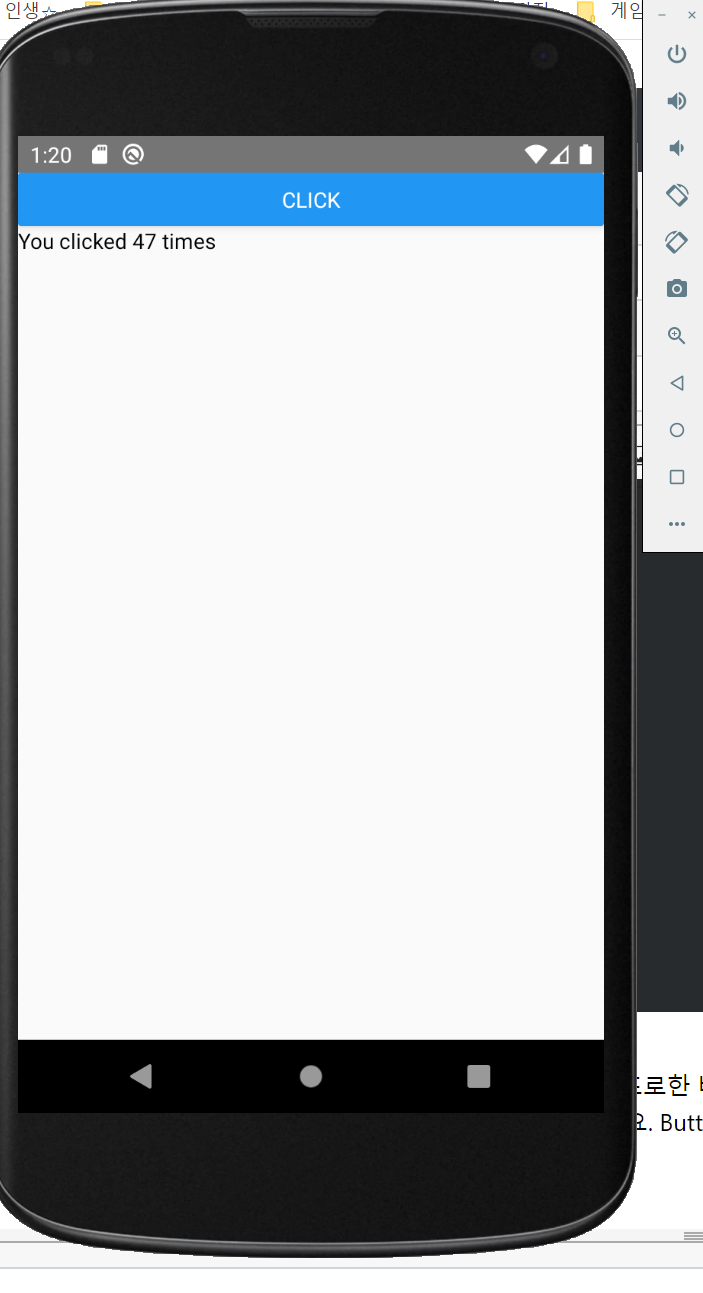
버튼을 클릭하면 숫자가 잘 오르네요. 이렇게 Javascript로 app을 만들게 될지는... 몰랐네요. 더 공부해봅시다..!
DEV
> REACT NATIVE
다른글
#ReactNative Counter App
#react Button Event
#ReactNative Button Event
#ReactNatvie 버튼 이벤트
REPLY